

’69 Mustang engine rebuild
After putting up with ever worsening oil and water leaks, and oil consumption through cylinder #7, it was time to tear down my 351W to replace every gasket and seal. I knew the rear main had leaked for some time. Finding nearly a pint of oil in the bell-housing confirmed that. I made the mistake of not removing the pin in the rear main cap when I replaced the rope seal with the neoprene seal in 2003. Always read the directions!
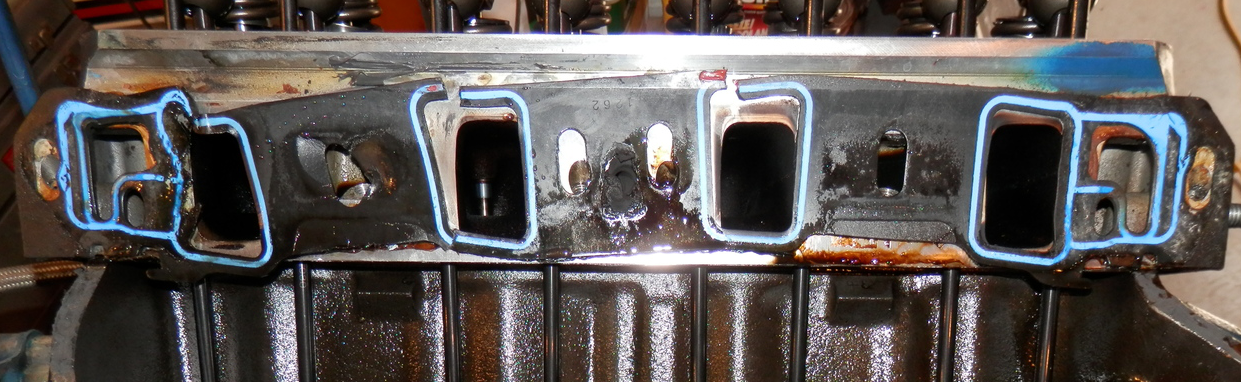
The photo below (3/10/2013) shows where the intake gasket was broken next to the lifter galley on cylinder #7: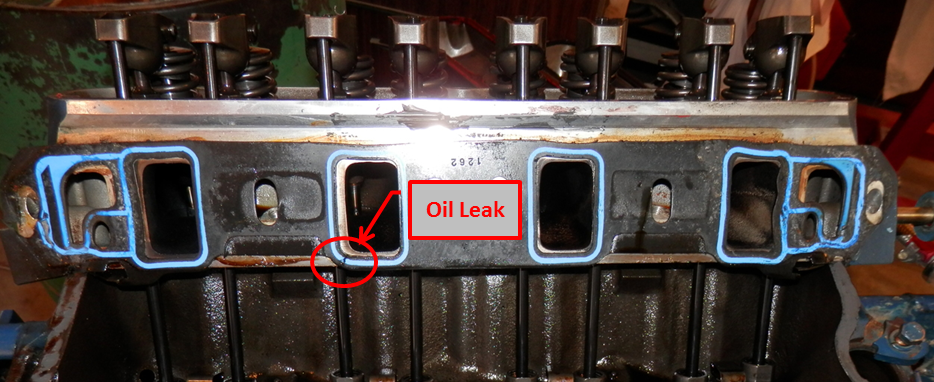
The right side gasket was mangled beyond belief. Surprisingly, neither cylinders 2 or 3 showed any signs of running too lean. This time I will use the Edelbrock gaskets instead of the Fel-Pro gaskets, and will be more careful about the torque sequence.
The next photo shows the damage to cylinder #1 caused by a warped TFS Twisted Wedge aluminum head in 2002. The machinist in Danville, IL wasn’t willing to sleeve it. I’ve now found a machine shop (Terry Cummings racing engines) in Bedford, IN that can, and very reasonably.
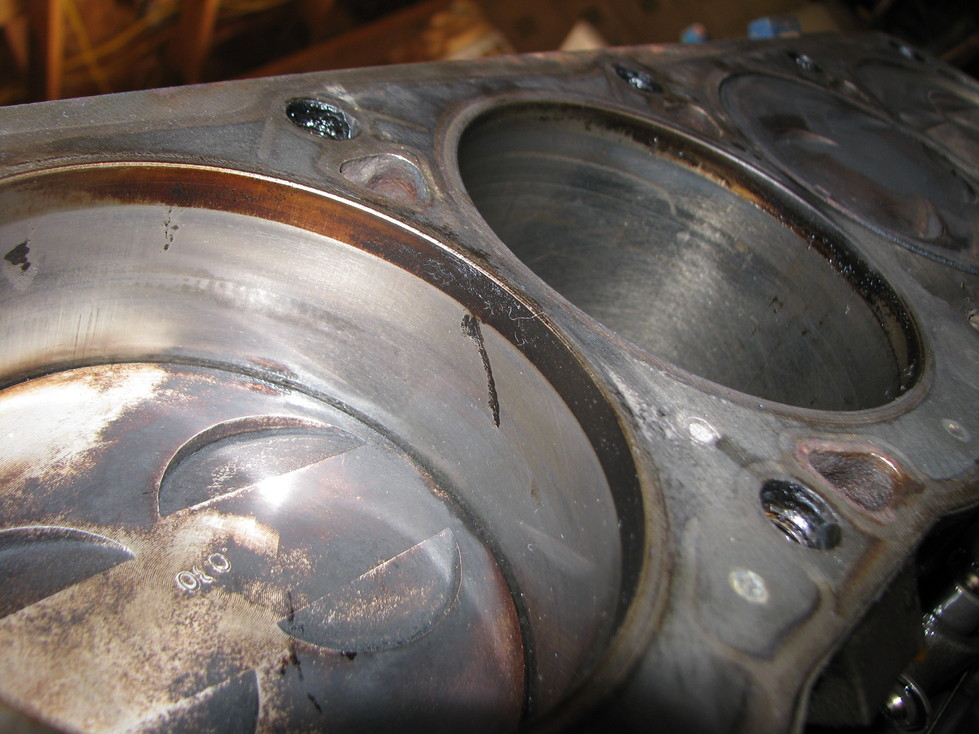
Cylinder #1 scratch
I also had to replace the cam thrust bearing, because the original was cracked. Photo taken 3/23/2013.
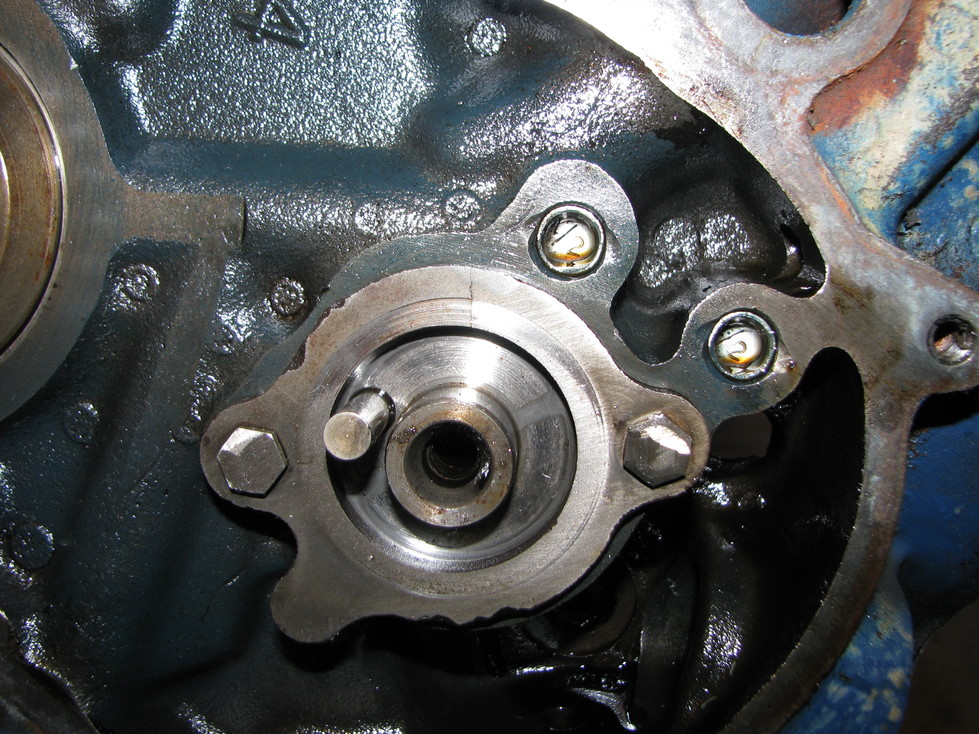
cracked cam thrust plate
In-progress photo of the engine reassembly after cylinder #1 was sleeved by Terry Cummings Racing Engines in Bedford, IN. Photo take 4/10/2013.
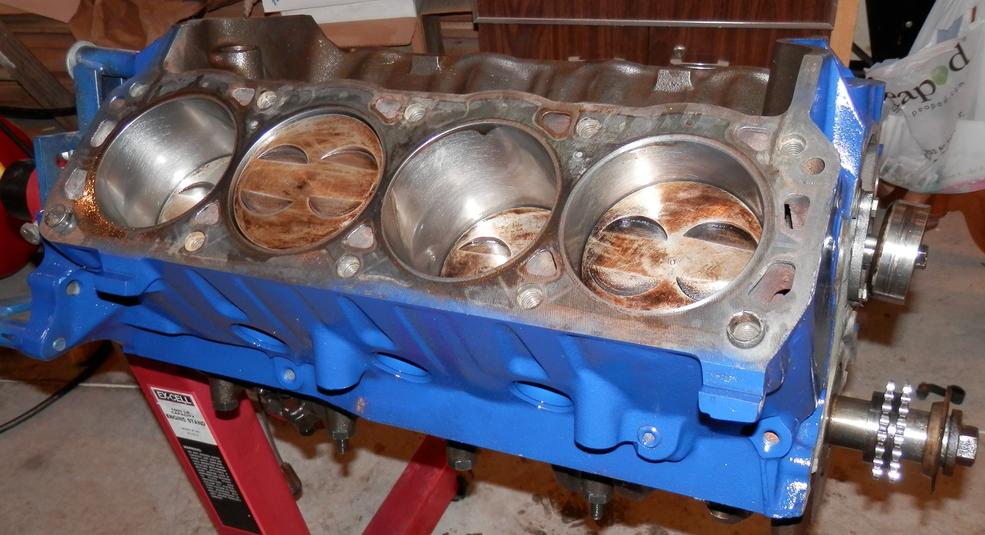
Cylinder #1 sleeved
Ready to re-install the intake manifold. The left cylinder head had to be heli-coiled on two places. In hind-sight, I should have swapped heads due to the configuration of the EGR plugs. The right-hand cylinder head had a deep plug in the front that I couldn’t remove. I was able to cut down a plug with a 3/8″ internal thread to mount the new alternator bracket.
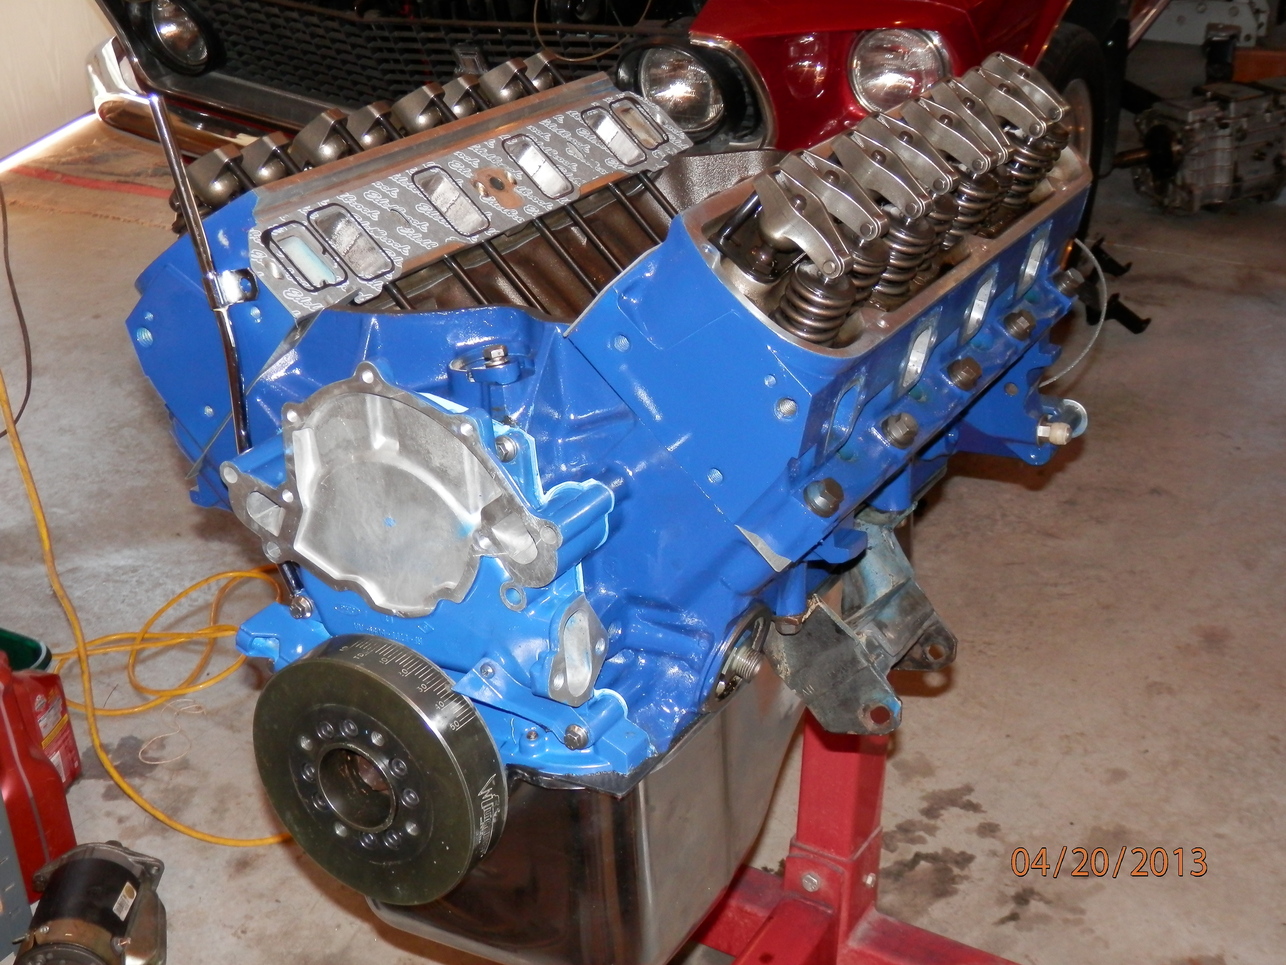
Reassembled with new timing cover.
The photo below shows what happens when attempting to use comp-cams roller tipped rocker arms with 1970’s vintage cobra valve covers. The impression made by the rocker arms is visible near the lower bend, along with a fatigue crack. Both valve covers showed similar damage.
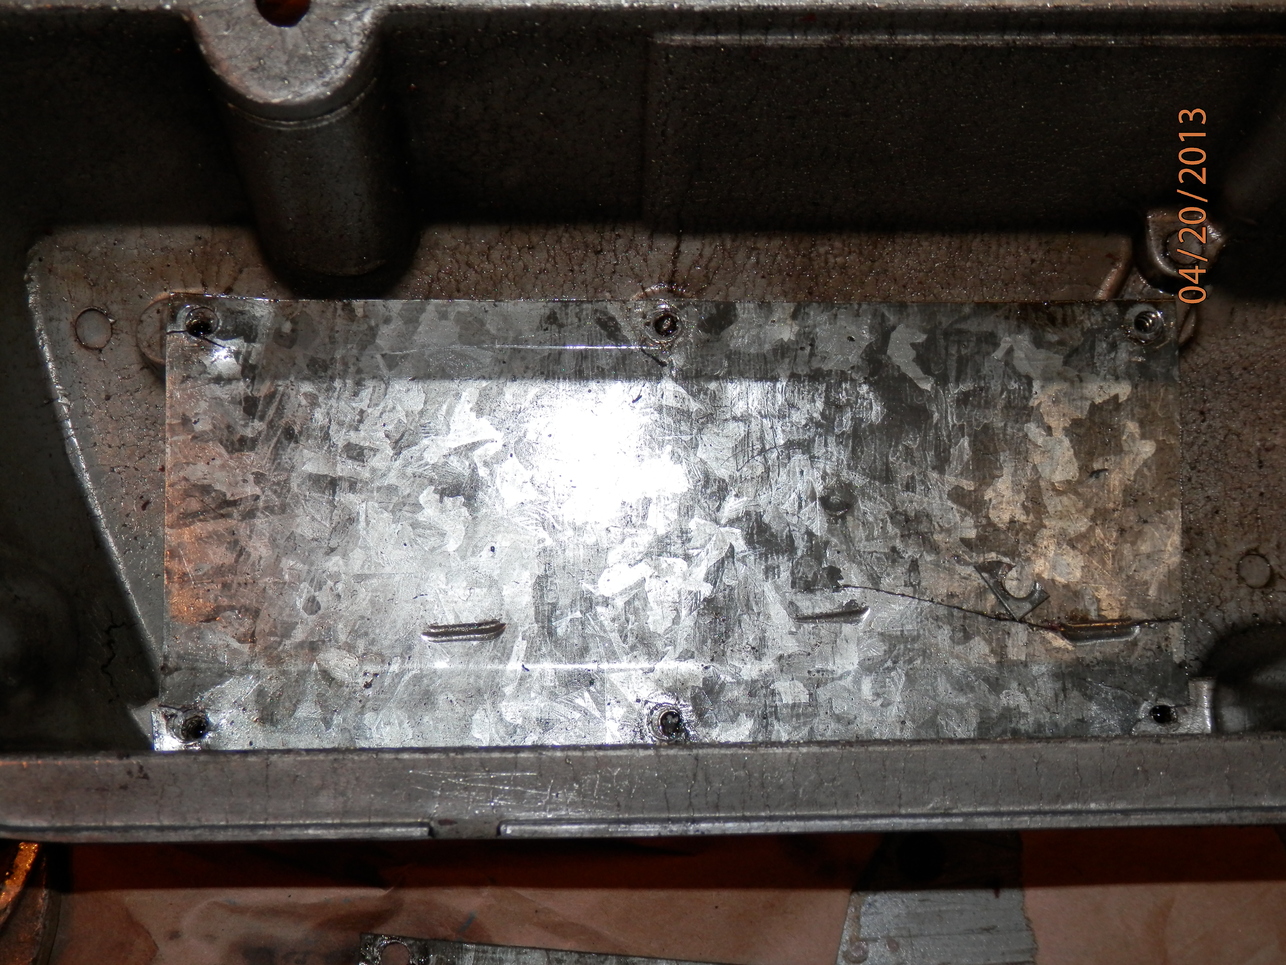
Damaged baffle in valve cover
I fabricated custom baffles to replace the originals, with slightly more clearance, and I used steel lined valve cover gaskets from Summit Racing (advertised 0.20″ thick, actually 0.17″ thick).

custom valve cover oil baffle
Engine re-installed 4/28/2013:

Engine re-installed


Reader Comments
Memorial day 2013 update: I’ve put about 250 miles on it now. No leaks so far! The car is so much more pleasant to drive, no more smoke and wretched burnt oil smell! I also found that the radiator over-flow tank was plugged internally, which may have caused some of the water leaks. Total bill including a $400 Centerforce clutch was roughly $1000 plus several weekends of my labor.
I also replaced the right-hand hood hinge with the Dynacorn premium quality version from CJ Pony Parts. This is the first time since I bought the car in 1978 that the hood has closed properly on the right side! This hinge is heavier gauge steel than the original and excellent quality. I found that the right-hand hood pin was located too far forward, which I’m sure didn’t help matters, so it has been relocated about 1/4″ farther back. So many details…